|
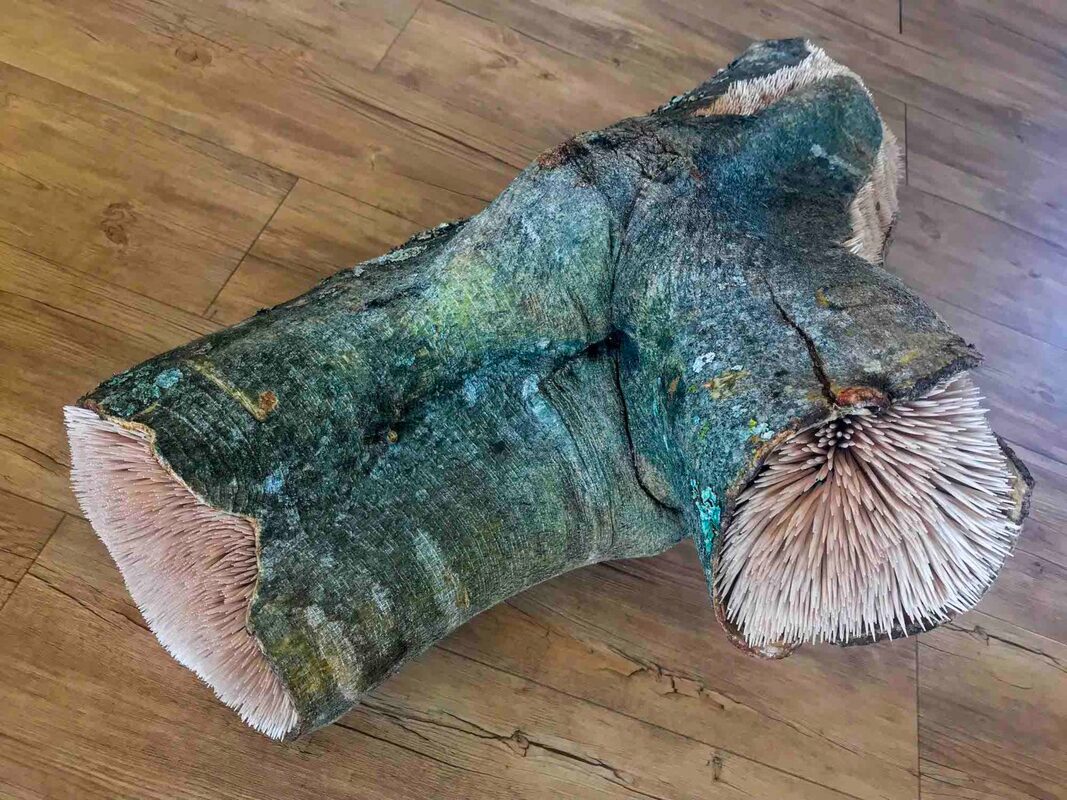
My piece was successful because I believe I did a really good job making the shape of the dogs head from all angles. I think the shape really looks accurately like a dog. I tried to make it look as real as possible form every single angle and it worked out well. A difficulty I had was definitely trying to layer on the paper mache to make it smooth. It was hard to make each layer even and trying to get all the paper towels to stick down to the piece. That was my biggest struggle. I also wish I could have made a better color for the dogs fur. I was trying to create a yellow lab but it was a bit too yellow and needed it be toned down.
0 Comments
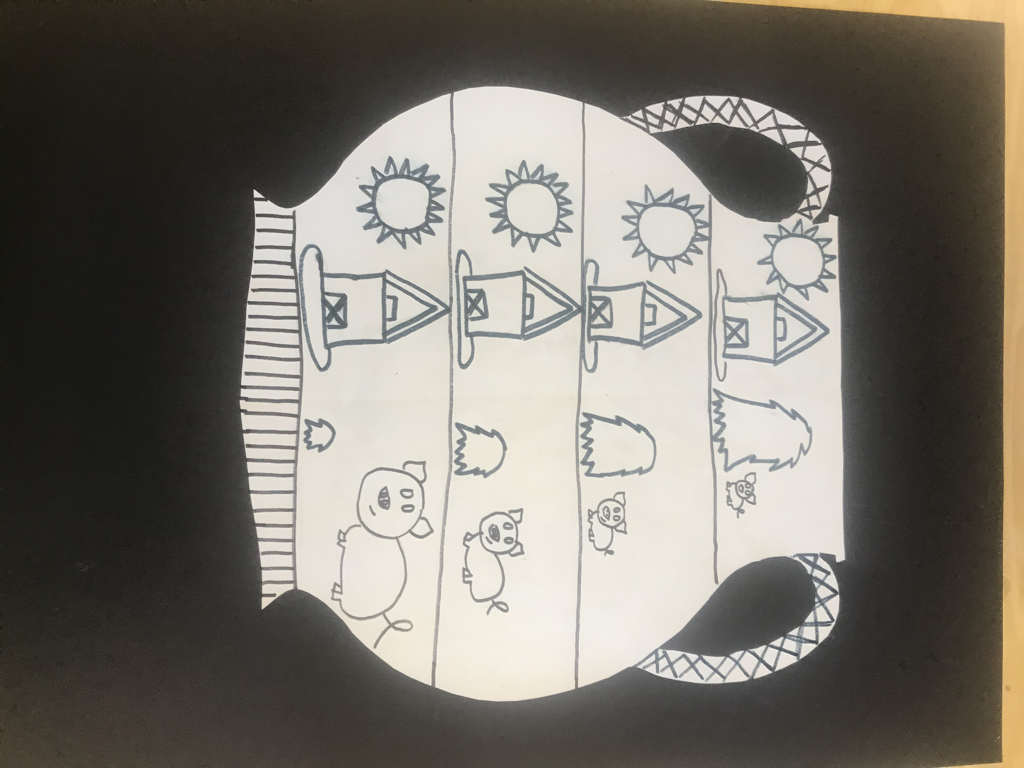 In this picture we tried to create a Portland vase. This vase was created around 50 BC in ancient rome. The meanings on these vases are supposed to be metaphors. We worked on a cut out and drawn picture of the vase. Sgraffito- A form of decoration by scratching through the surface layer to reveal a lower layer of contrasting color.
Registers- A horizontal level of work that consists of several layers arranged one above another. These levels are separated by lines and usually tell a story. In progress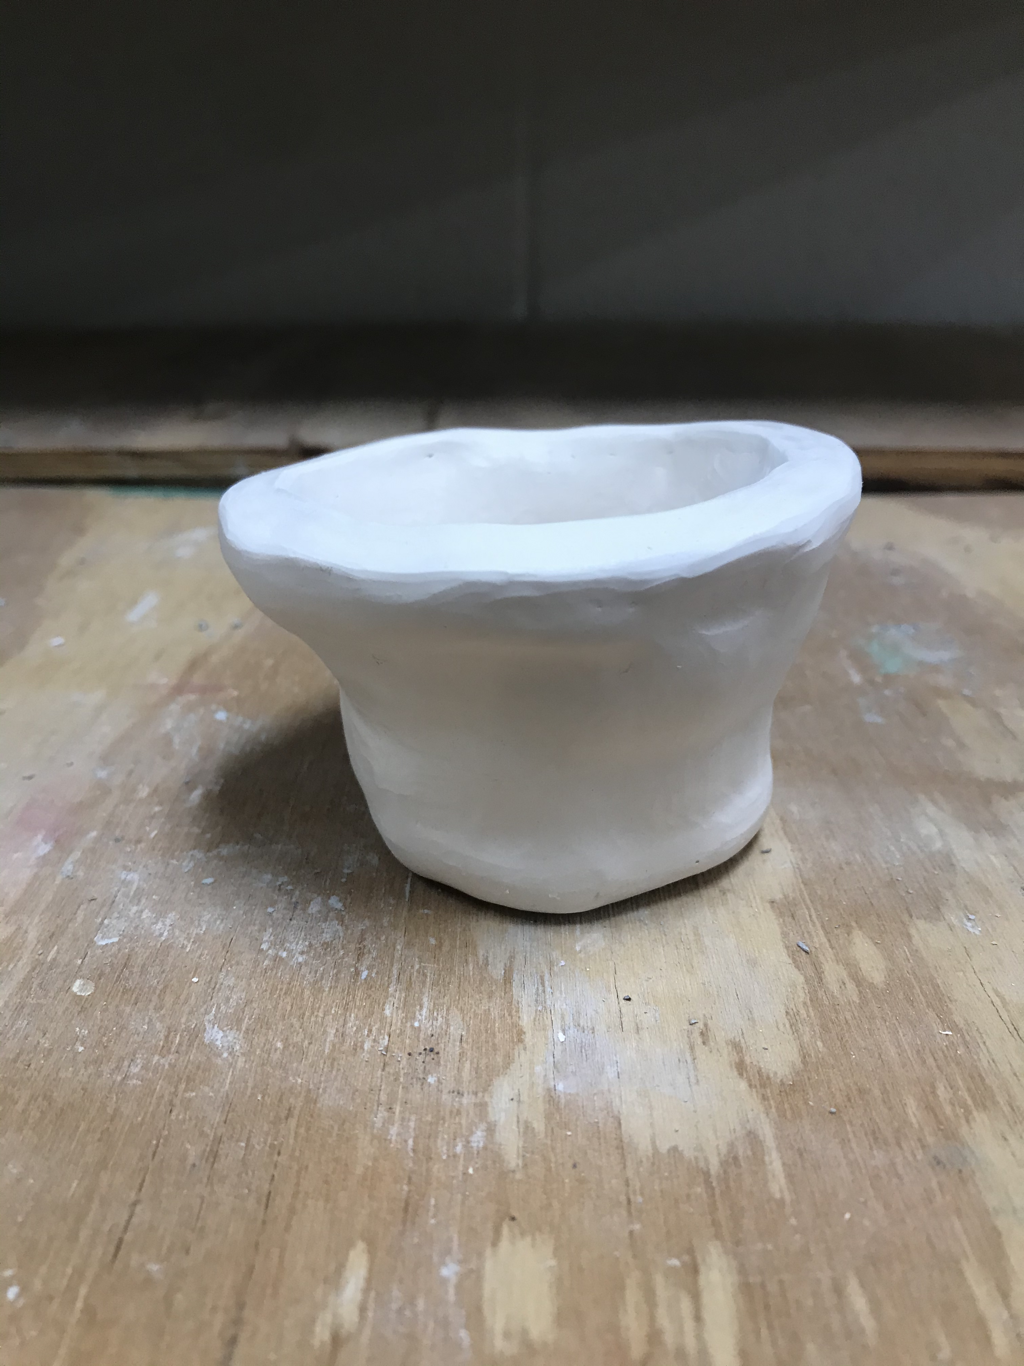 So far to make this piece I have used the cooking method to create the shape and then used one of the rocks to smooth it out. After these steps my piece was fired. Some difficulties I have come across so far are making the general shape with coils. It’s hard to make the piece completely smooth and flow together when using coils but it’s definitely a very efficient method. From Here I plan on really thinking of the best materials I can use to make the piece very vibrant and flow together. In progress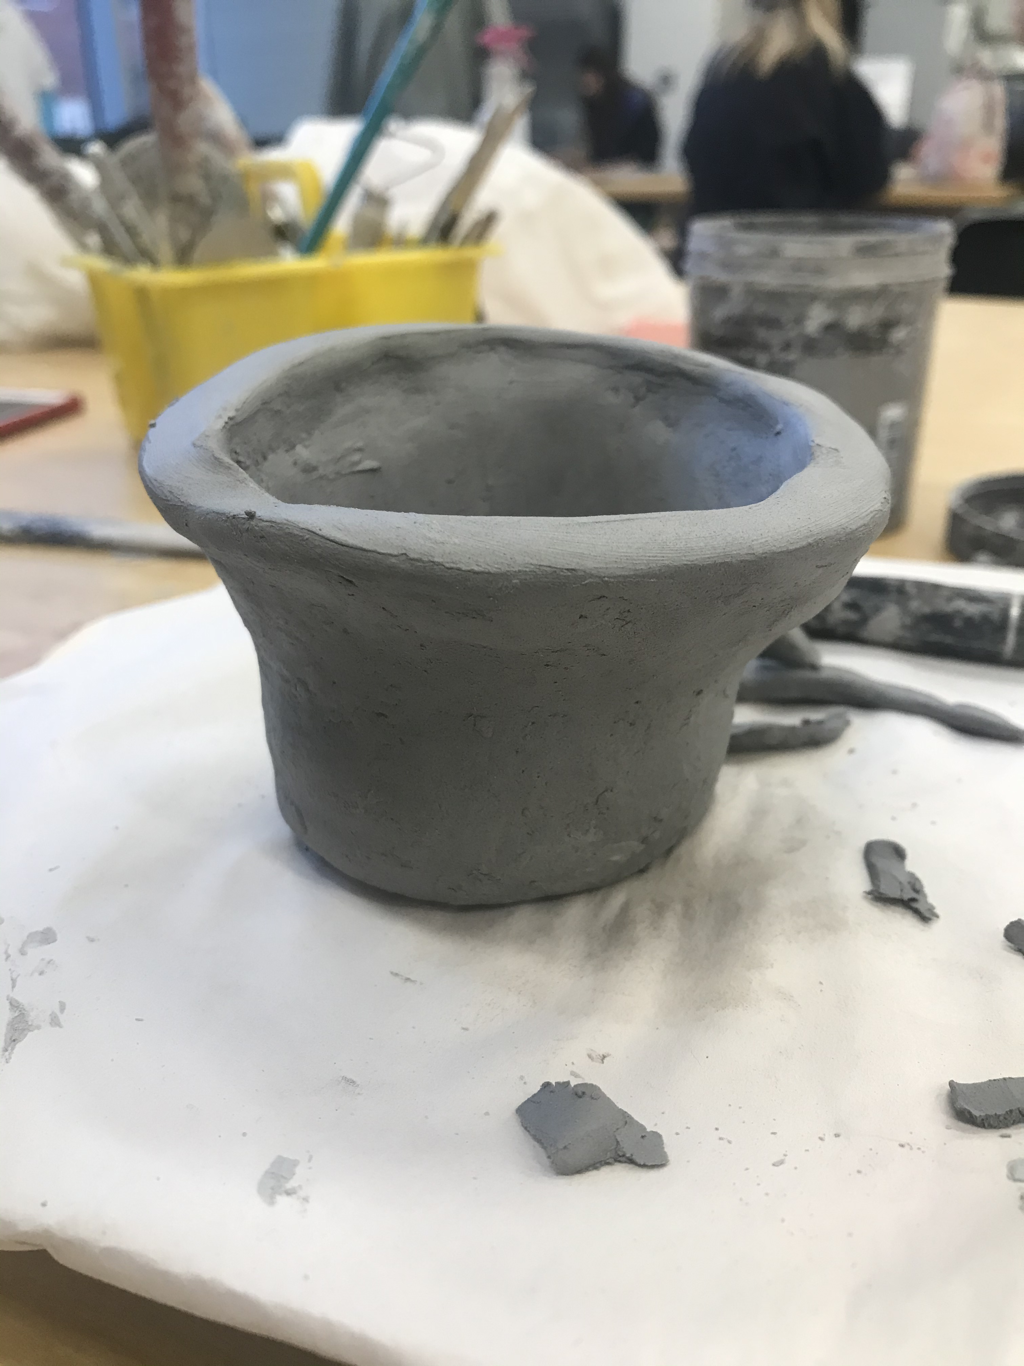 Sketch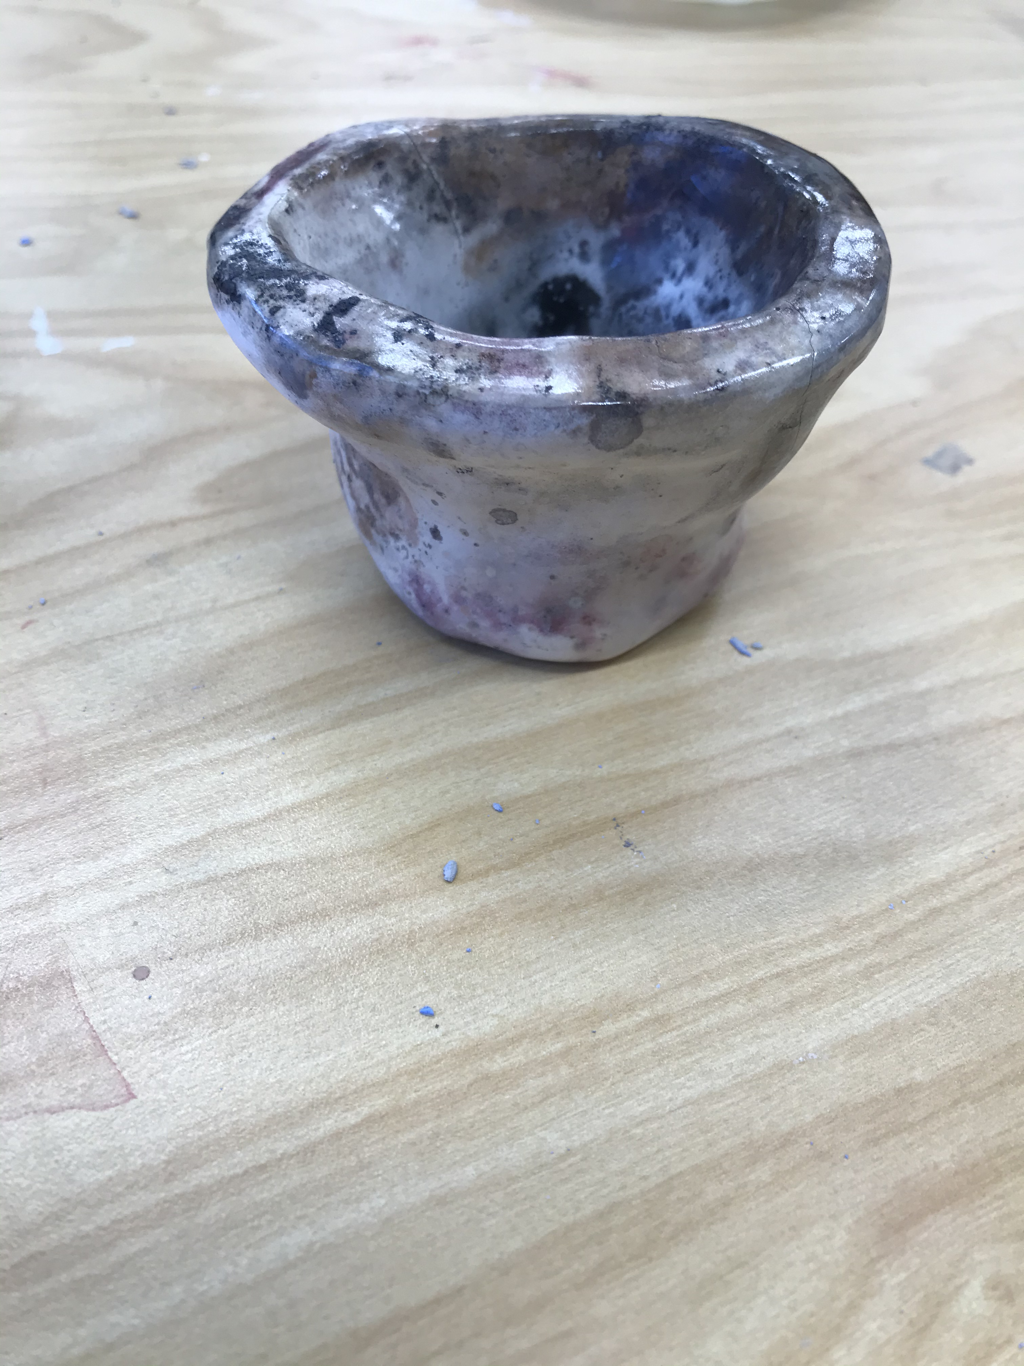 Finished piece 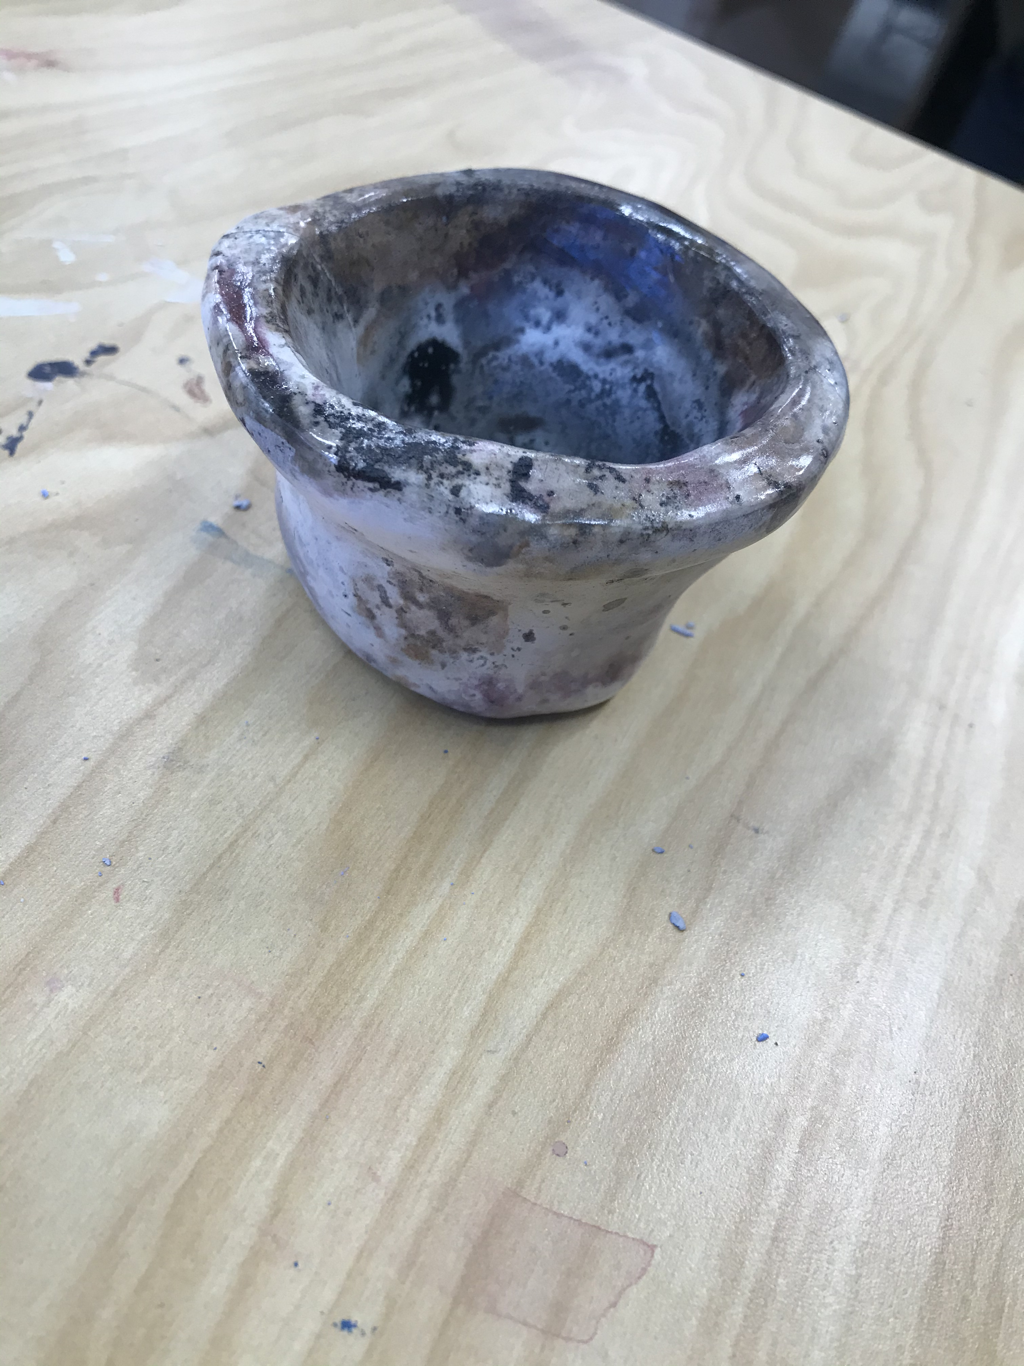 Pit fire and SaggarsSaggar When creating a piece using the Saggar process you start by throwing earthenware clay on the wheel. After making your piece with clay it is burnished and polished. Next the piece is bisque fires t a low temperature to absorb the materials. The pieces are then fired gradually increasing temperature then the burners are shut off and it sits for 18 hours. The pieces are washed and dried and then finished. Pit Fire Pit fire pieces are started by throwing earthenware clay on the wheel. At leather hard the piece gets burnished to become shiny and smooth. Next fine layers of clay are added onto the piece and then bisque fired. After the bisque fire the pieces are wrapped in different materials and moved to a pit fire. The pieces are put in a hole in the ground, burned, cooled, and then cleaned to finish. I feel my piece was successful because of the design and colors after the pit fire. I think the design that came out on my piece was very unique and the materials did a great job and making nice colors. If I were to do this piece again I would try to make my coils a lot smoother. It was hard for me to smooth down my coils and make the piece flow better together. I burned dog food, tea, and sea salt onto my piece.
In progress photo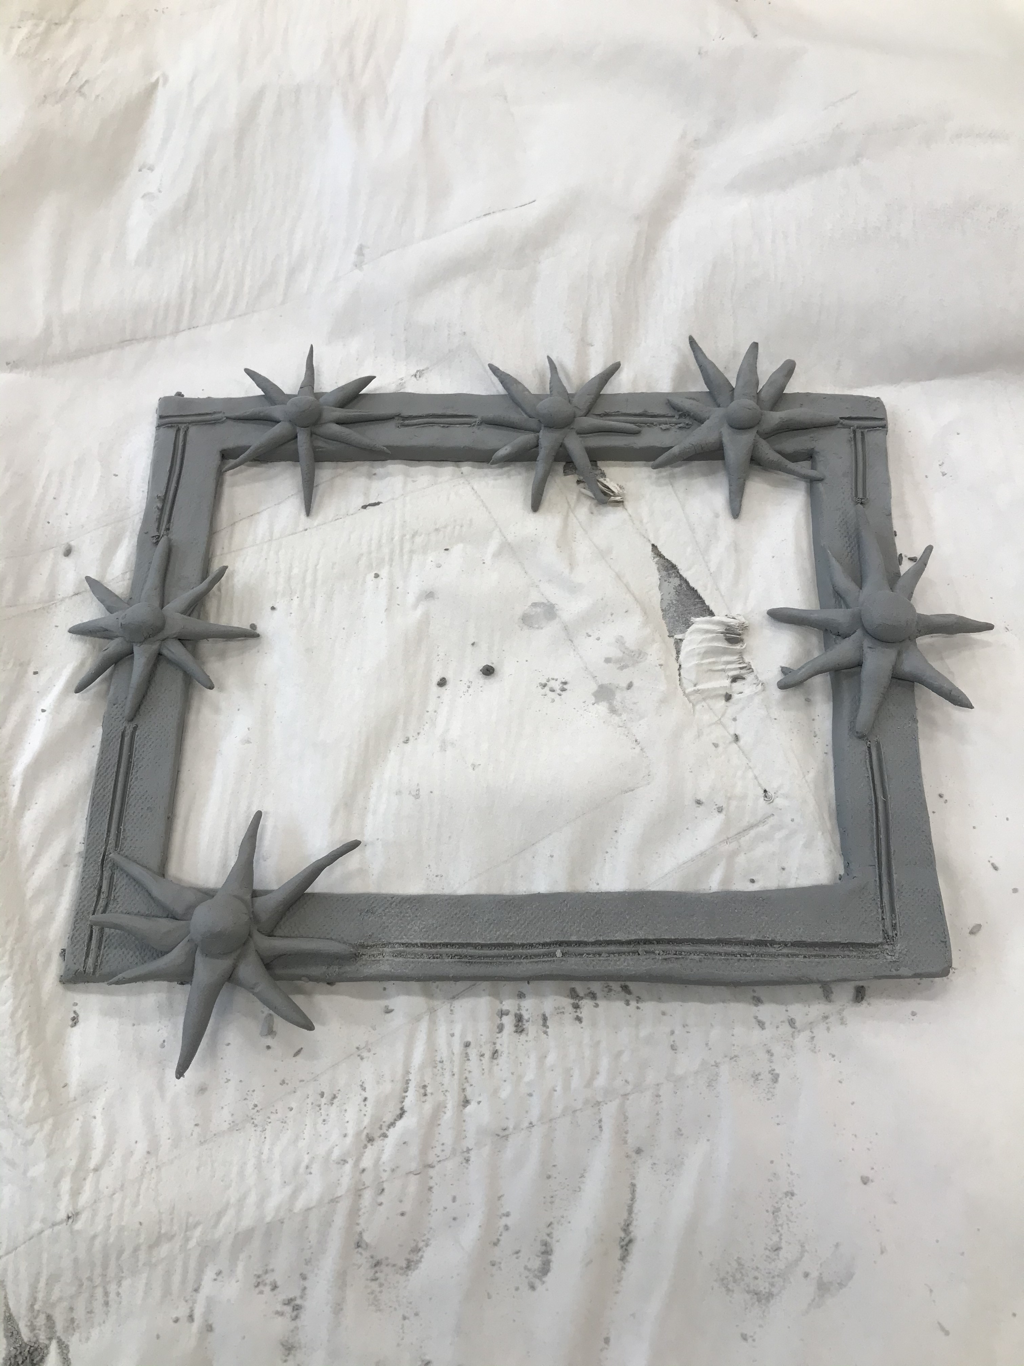 Finished piece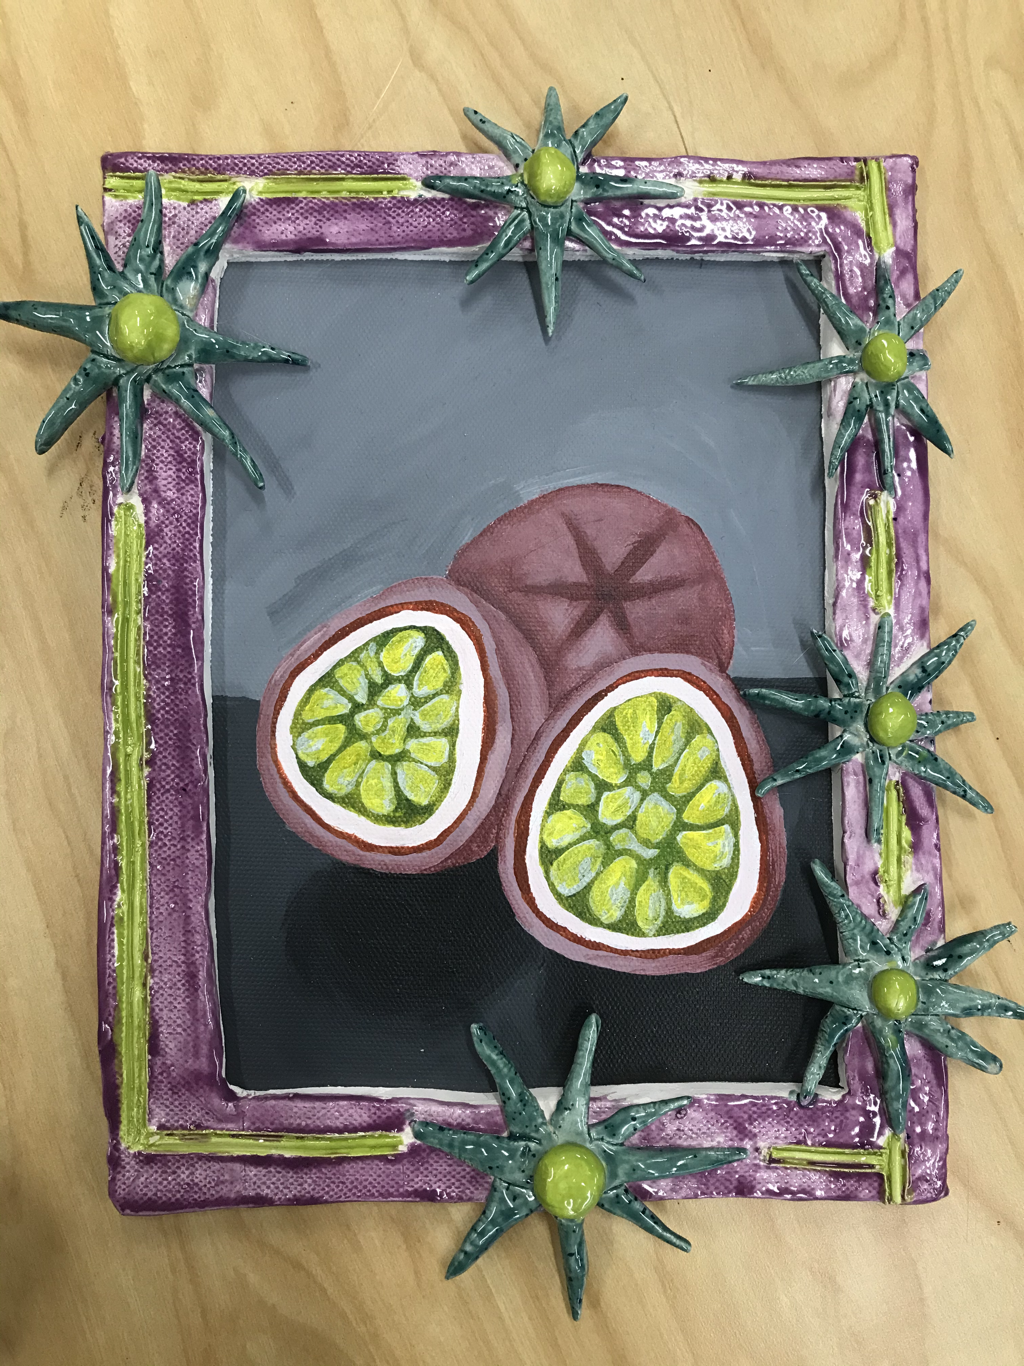 The theme of my post was dark but vibrant colors. I showed this theme by using lime green, dark purple, and teal which are dark colors that have a lot of personality. Although the colors are strong and dark they also are vibrant colors. I think the use of the colors I used was what made my projects successful. All of the colors I used went very well together and made the piece very unique. If I were to change something about this piece I would have made the flowers smaller or another shape. The flowers look nice but were very delicate and made the piece hard to move, fire, and glaze. The process of making this piece started out with rolling my slab and making the initial frame shape. I then added in the big flowers which all were different sizes but resembled the same flower. After the flowers I added the line through the piece to give it some relief. The piece was fired and I glazed it with unique colors that came together and completed the piece.
In progress 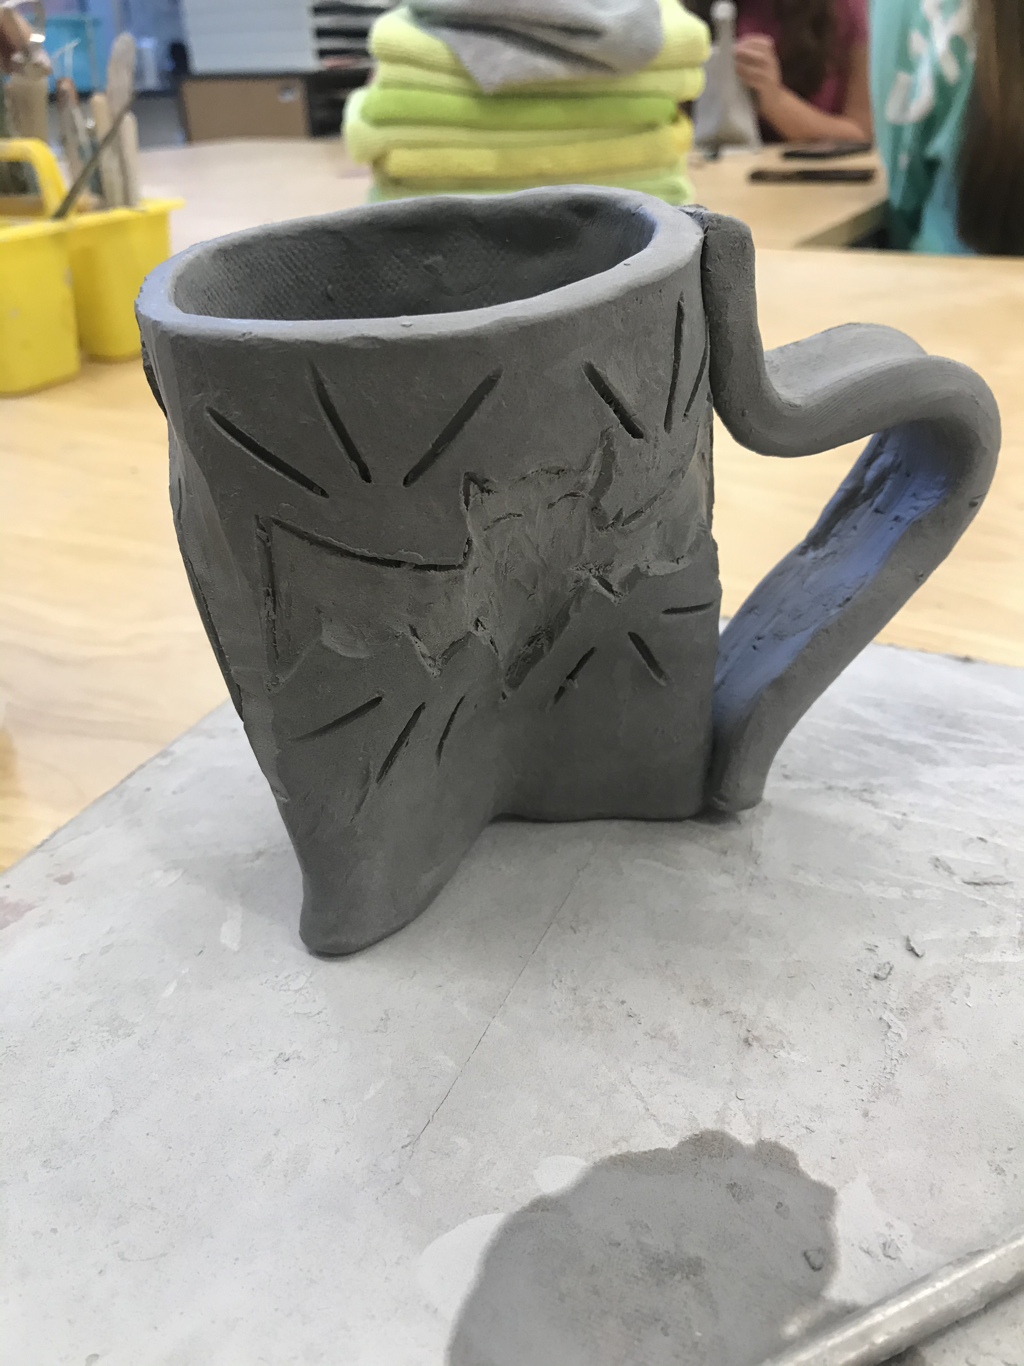 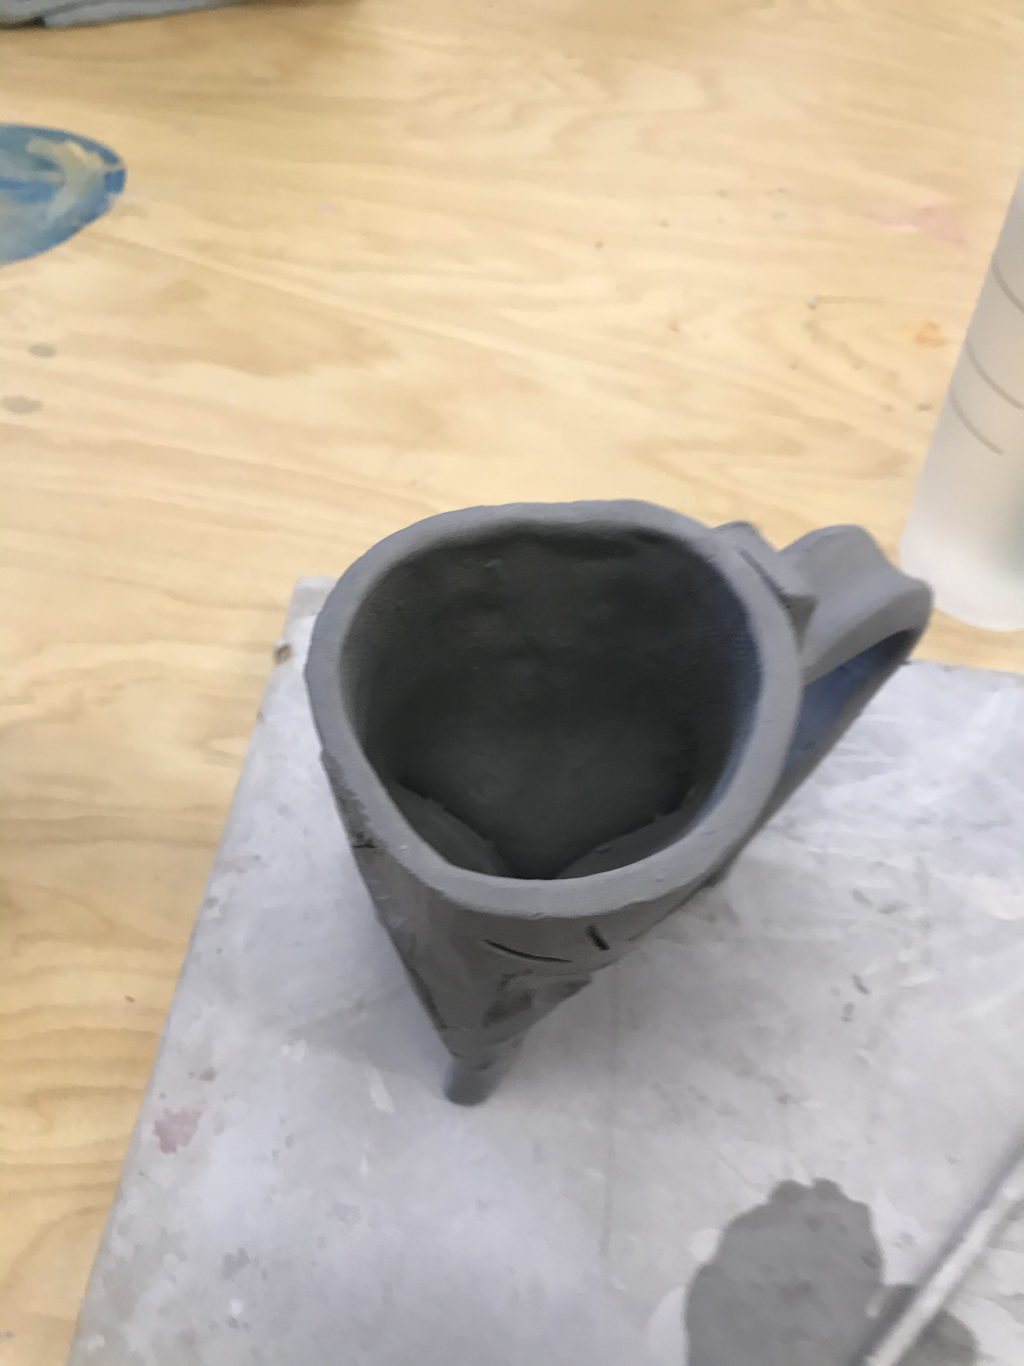 For my mug set project so far I have only been able to make my mug. I made the tripod mug and decided to make the theme halloween. I carven a bat, pumpkin, and ghost into my mug to go with the theme. When I begin my tray to go with the mug it will also have a halloween “basics” theme. Finished set 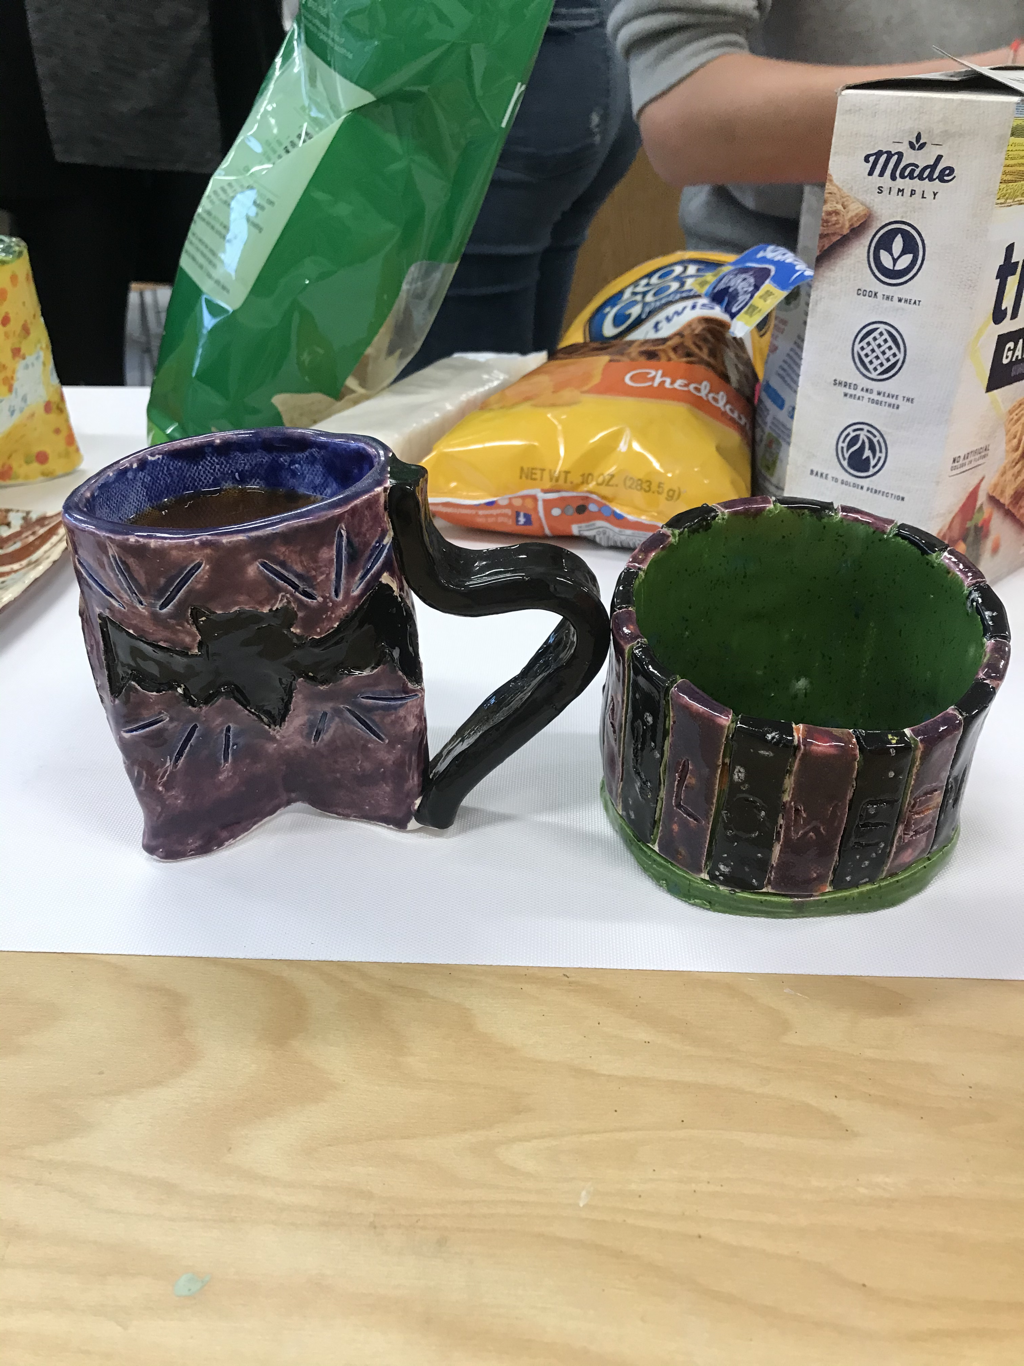 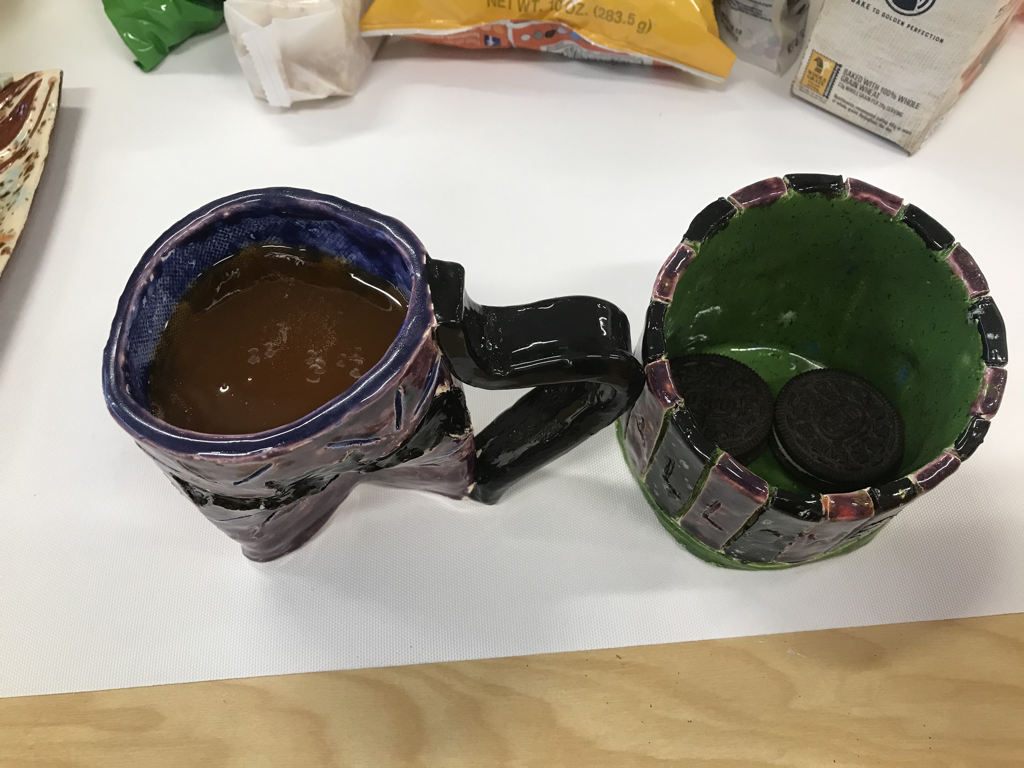 Process When making this piece I started by just making the general shape of my mug (tripod), and the shape of my tray set which was more of a bowl. After making the general piece I began to work on the design. When we started these it was around halloween so I decided I wanted it to be halloween themed. I made the characters on the mug to represent characters of halloween, and just did a fun color representation of the holiday on the tray. After creating these designs I worked on getting the details really specific on the pieces, using mainly my needle tool then had the pieces fired. I decided to just stick with a few colors for the pieces and kept them dark halloween colors when glazing it. After glazing then I used them for food and drink, and they worked great! The style of my handle was just a traditional handle. I used a long piece of clay and a sponge to smooth out the clay and shape it into a thing traditional handle. I found this piece successful in several ways. I think that the color combination worked really well together and really brought out the designs. I also really liked the shape of my tray because I think it was different with the contrast of the size of walls. If I were to do this again I think I would try to work on making the shape of the mug a little cleaner. Creating the tripod was difficult for me and I believe it really threw off the shape of the mug, so I would work on doing better on that. Clay Slab- Clay that is made flag by rolling and rolled together.
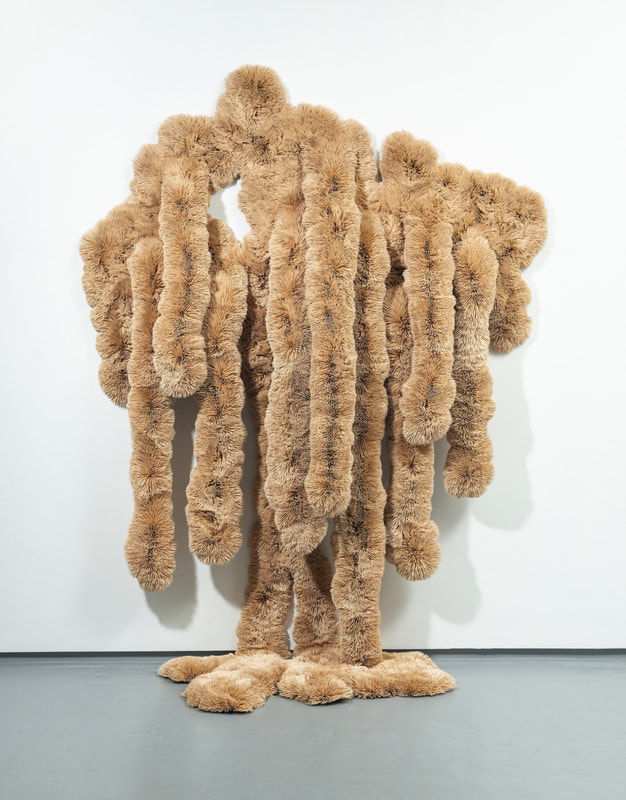  About The ArtistChris Soal from South Africa makes toothpick sculptures out of toothpicks and random objects to create Amorphous sculpture. These pieces are created to show the relationship between destruction of nature and humans. Soal also uses these toothpicks to show how a hard toothpick can make a hard looking, random objects look soft. Soal makes the shaping of the piece related to touch so that it all appears soft. Chris Soal's websiteWhat I like about this workThis work inspires me because I think it is very cool how Soal makes the hard toothpicks and random objects look very soft and touchable. The way that the toothpicks sit together makes them look flowy and soft. I am also very intrigued by this artwork because it really has a heavy message behind it. These pieces show how much trash there is everywhere and using it to create and piece that looks like a growing piece of the "trashed" earth. We can see that making art out of trash is a beautiful thing but the trash can be destructive.
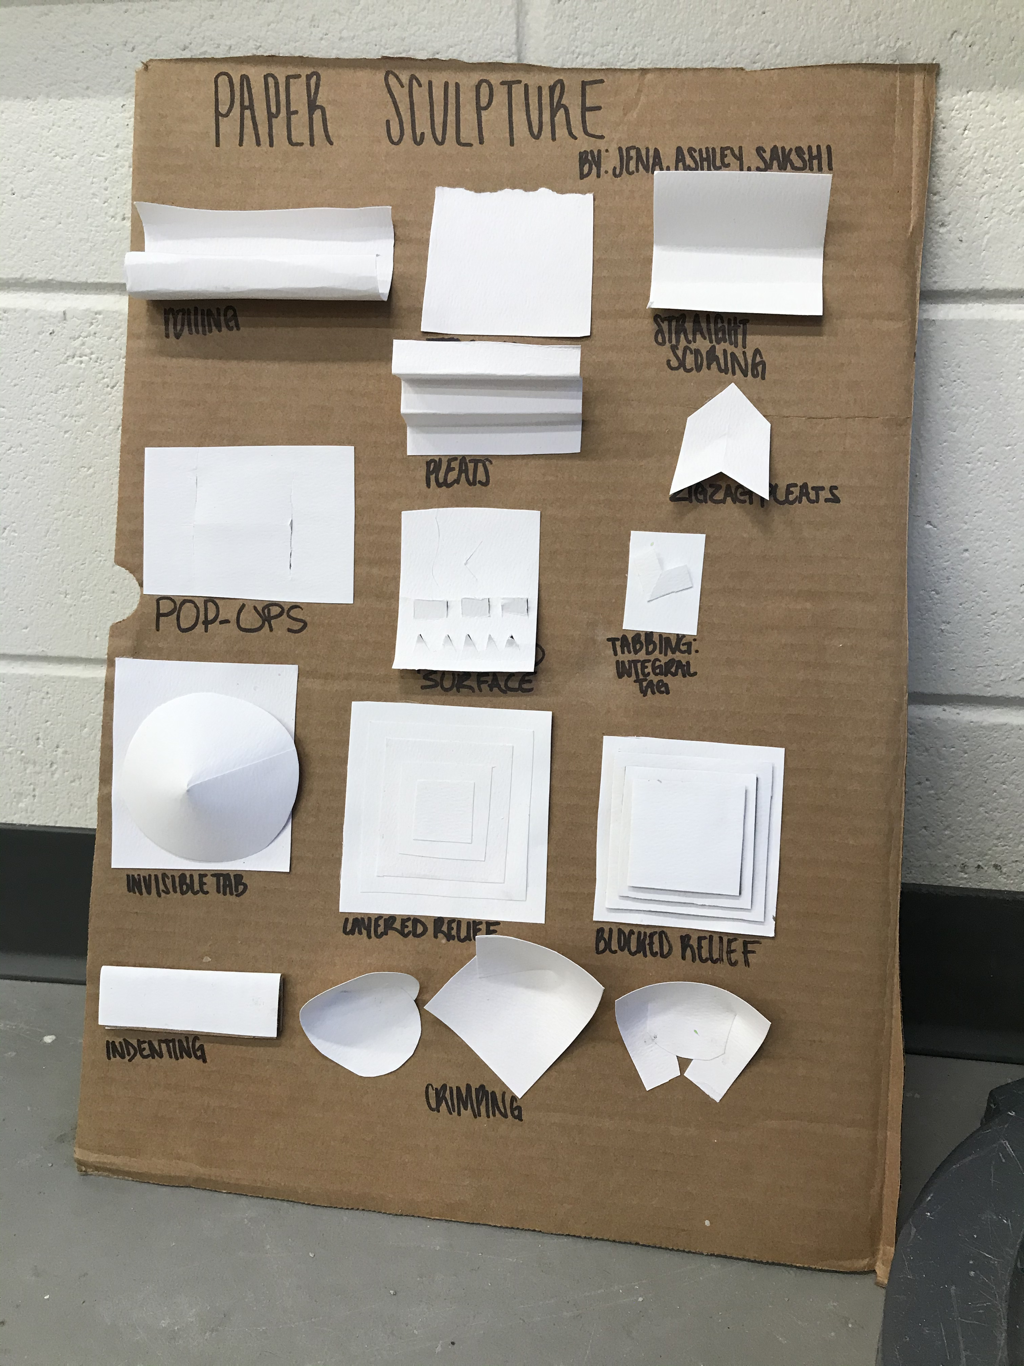 Demo Board 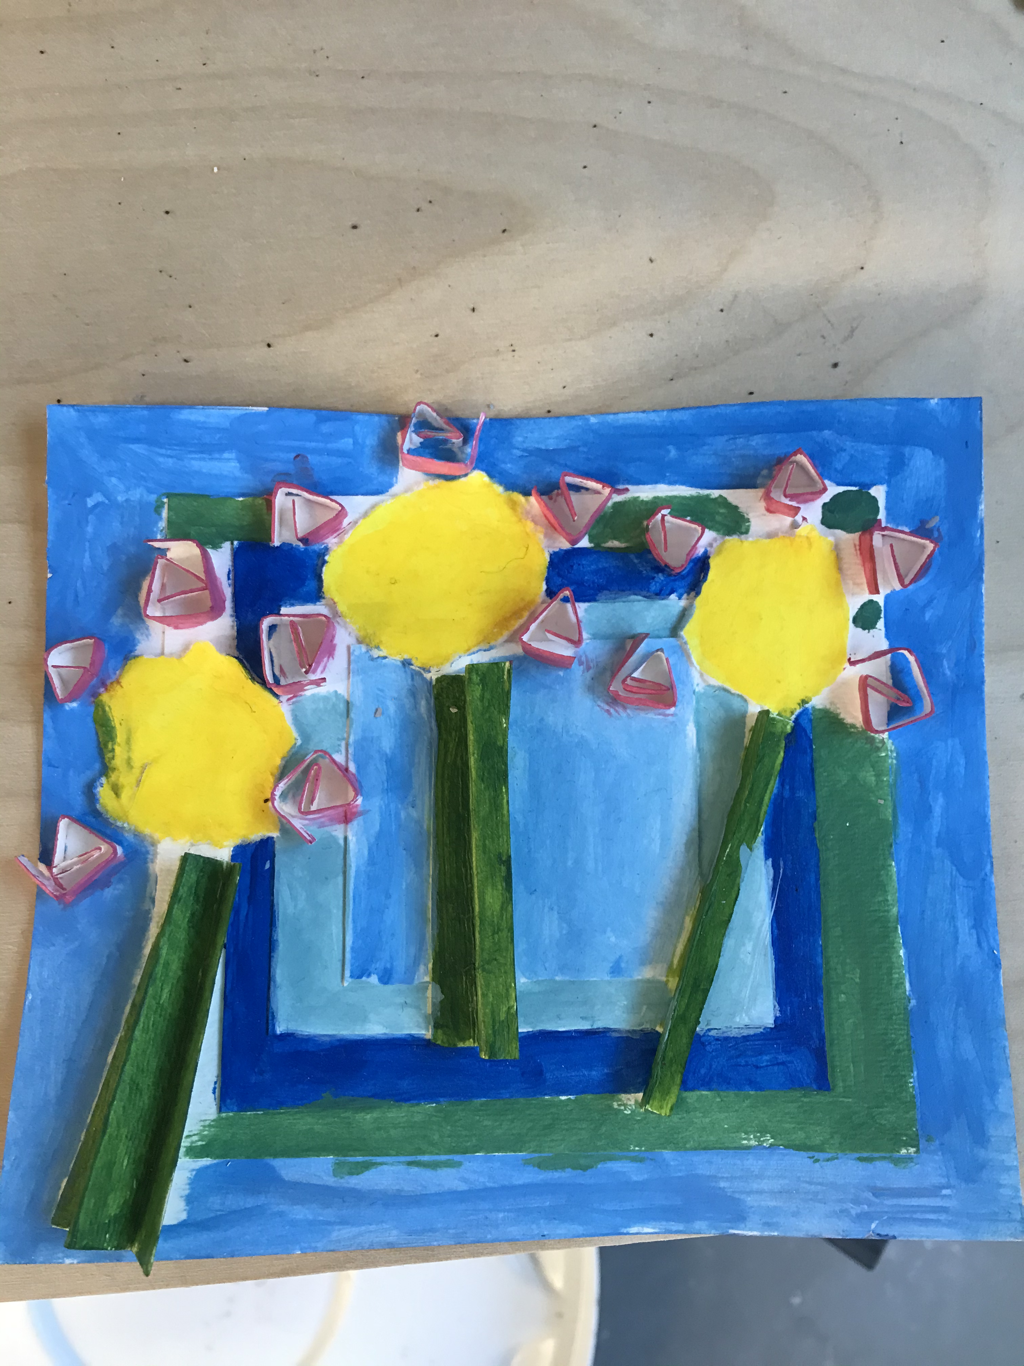 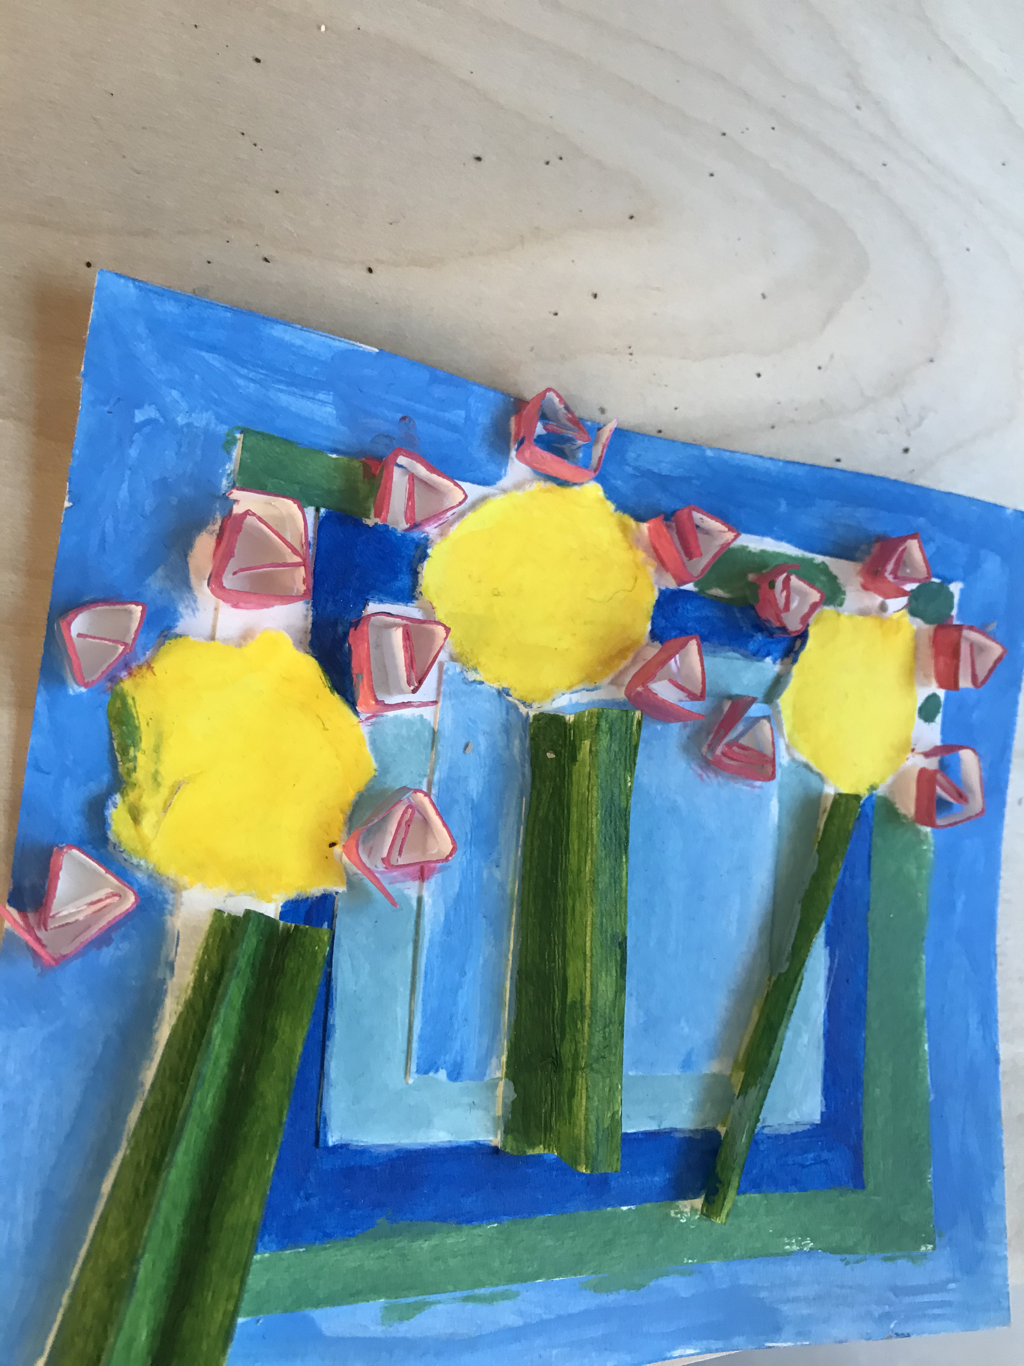 Finished piece Pros Some pros of this piece and doing this piece are . Endless amounts of designs to make with paper . Making the center of the flower and petals was very easy . Colors make it very bright . The piece is very “happy” because of the theme and colors Cons . Paper is hard to work with/make shapes. . It was difficult to make the shapes and pieces realistic. . Using the different paper methods made making the piece harder. because there wasn’t as much freedom when creating it. The process of making my piece was hard for me because I couldn’t think of every way to involve the different paper methods for a while. I started out by using layered relief to make my background, next when making my flower stems I used pleats so that they would be “folded” onto eachother. When I made the center of the flowers I used the tearing method to make imperfect centers to the flower. Finally when making the flower petals I used the rolling method, and then cut the roles to look like petals. Once done making the initial design I just decided to use a lot of colors to paint the piece and make it look happy.
In Progress 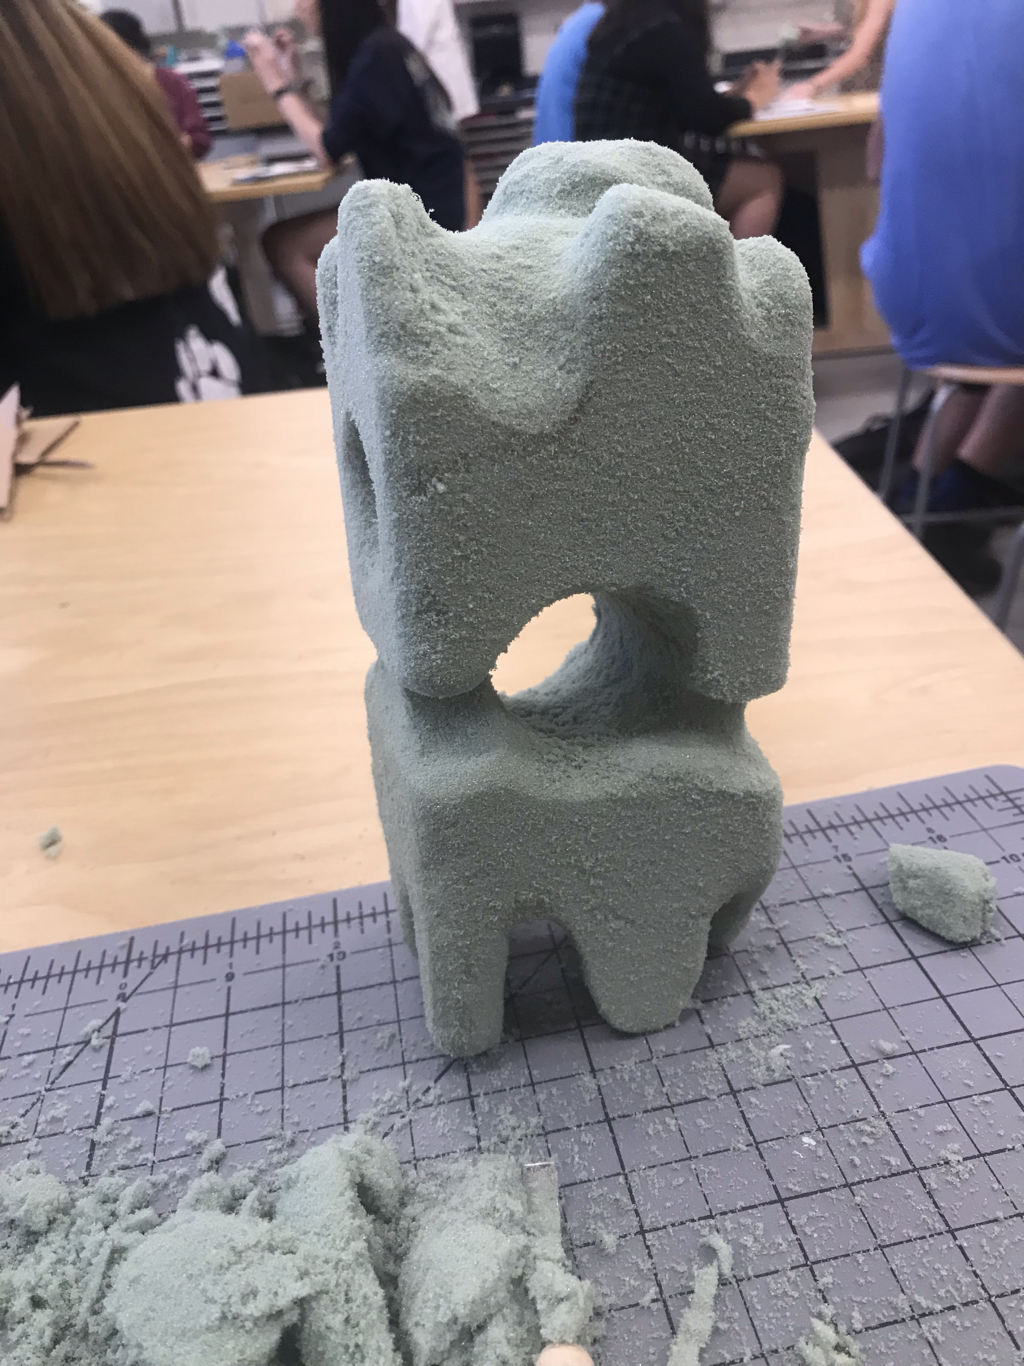  Finished piece 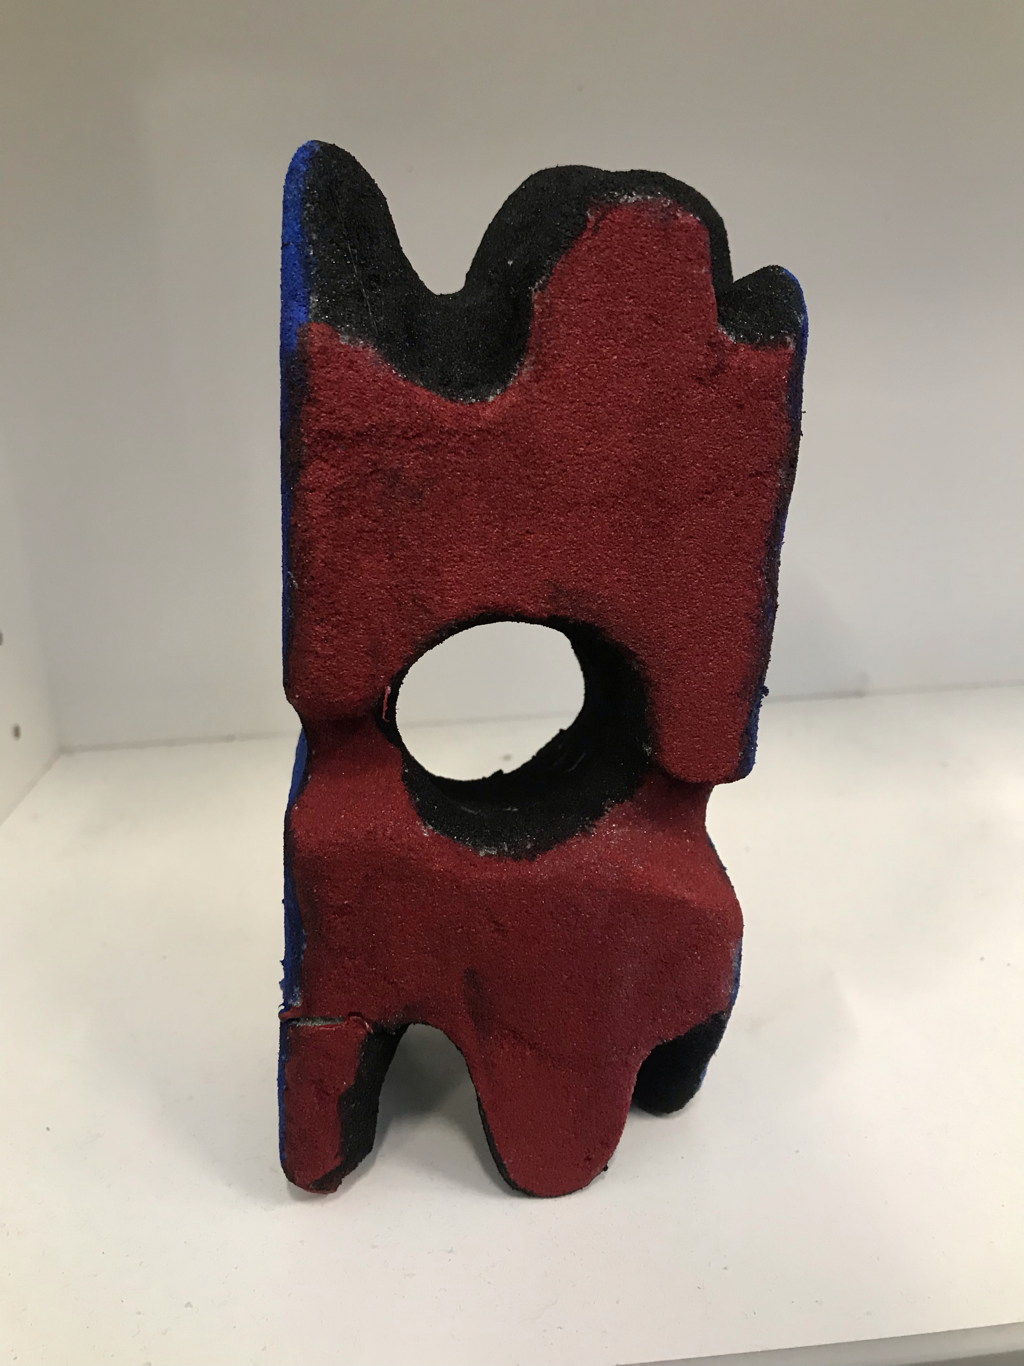 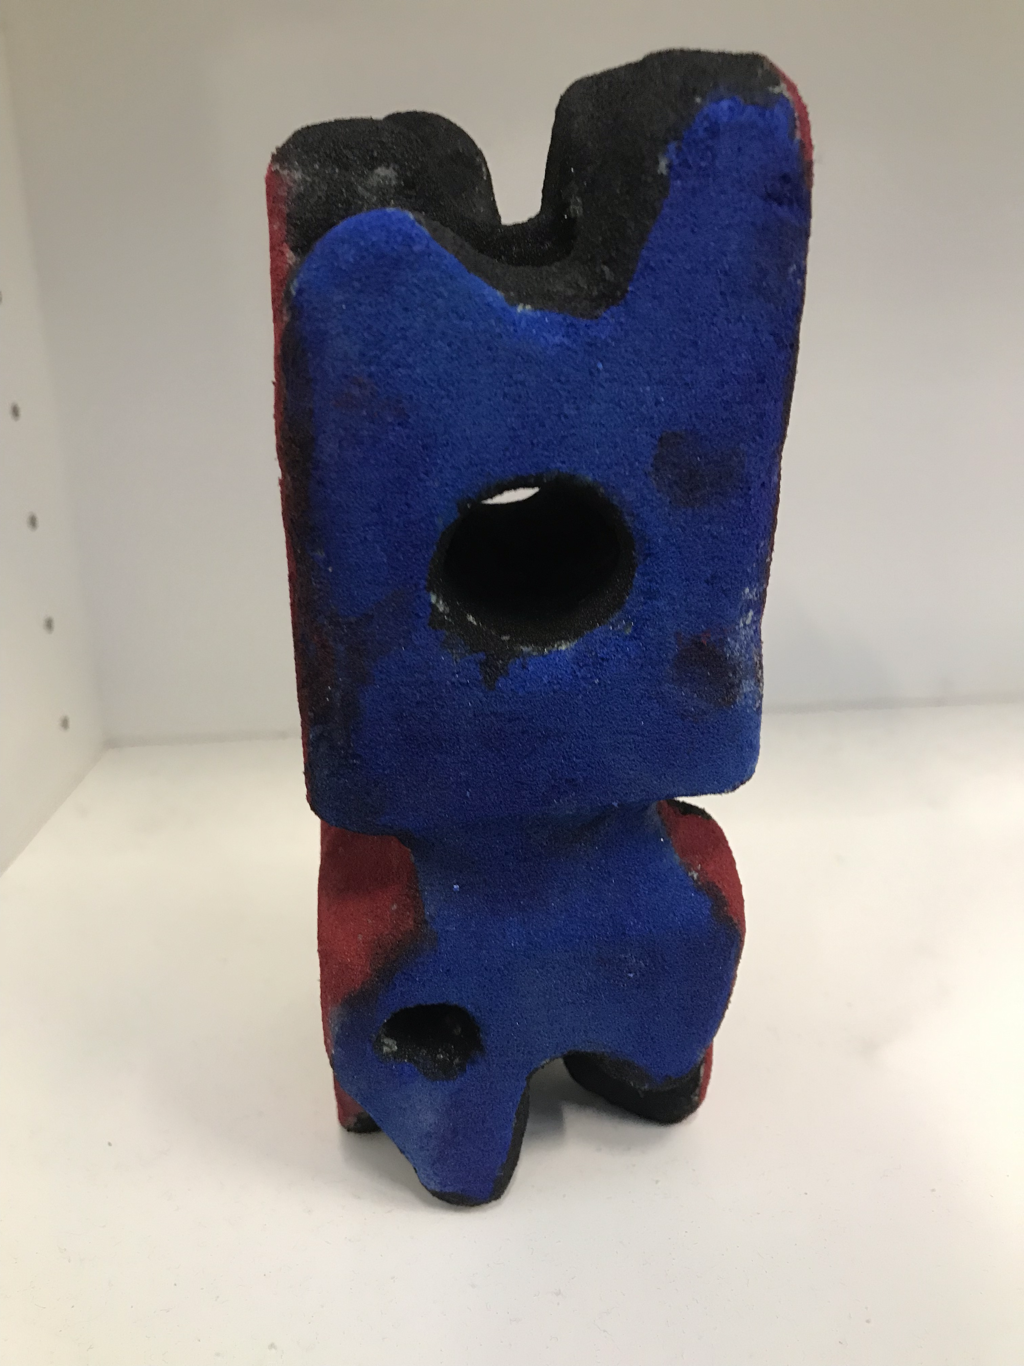  Question #1: When I was creating this piece my process was not much of one, it was just going for it. I made an initial design but when I started doing the piece I didn’t end up using it at all. When I started doing this piece I just used my hands to shape everything and went with it until I felt it was finished and abstract. Question #2: When I started this project I started out with an obstacle almost immediately. I was trying to make this piece without thinking 3-D. The next day I came in and just used my hands to work on reshaping the piece without a plan and it ended up working together when I just tried to redo the piece from my mistake point. I overcame this by concentrating on the 3-D aspect of the piece because originally I wasn’t thinking 3-D which messed me up. Question #3: I picked the colors for the piece red and blue to contrast warm and cold colors and then the black to add a sense of “emptiness” to the holes and bottom of the piece. I wanted main attention to be on the warm and cold contrasting sides of the piece and not the holes, top, or bottom. Question #4: I found the abstract part of my piece really successful. I feel like my piece really shows abstract art because I just went into the project head on without much of a plan and created it as I went. The piece doesn’t have a true shape which shows the abstract part of it and the colors also make it abstract because they aren’t perfect.
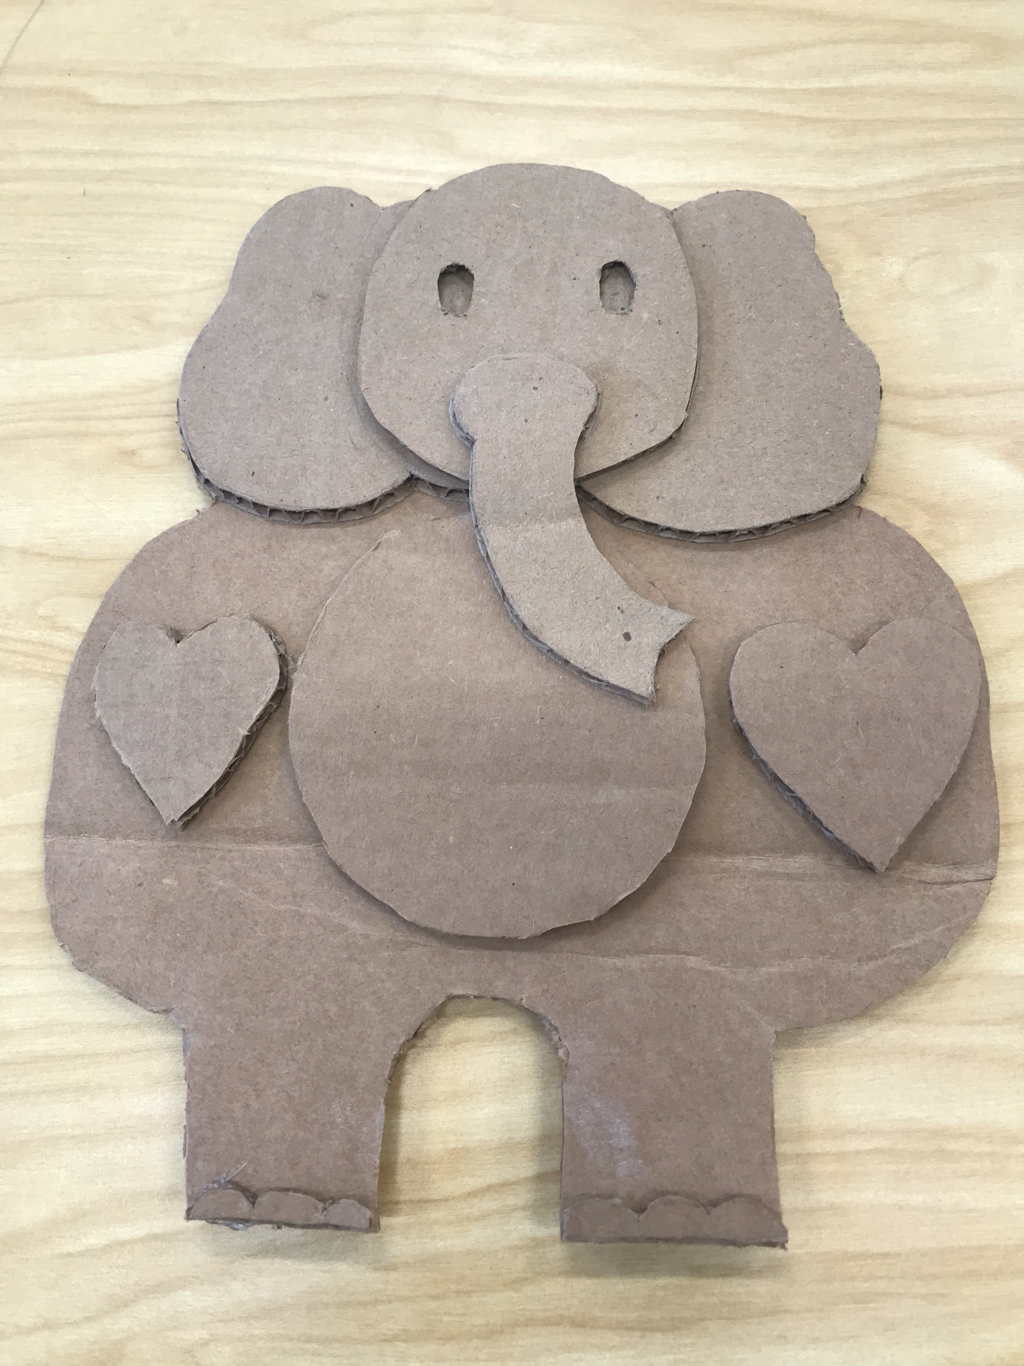 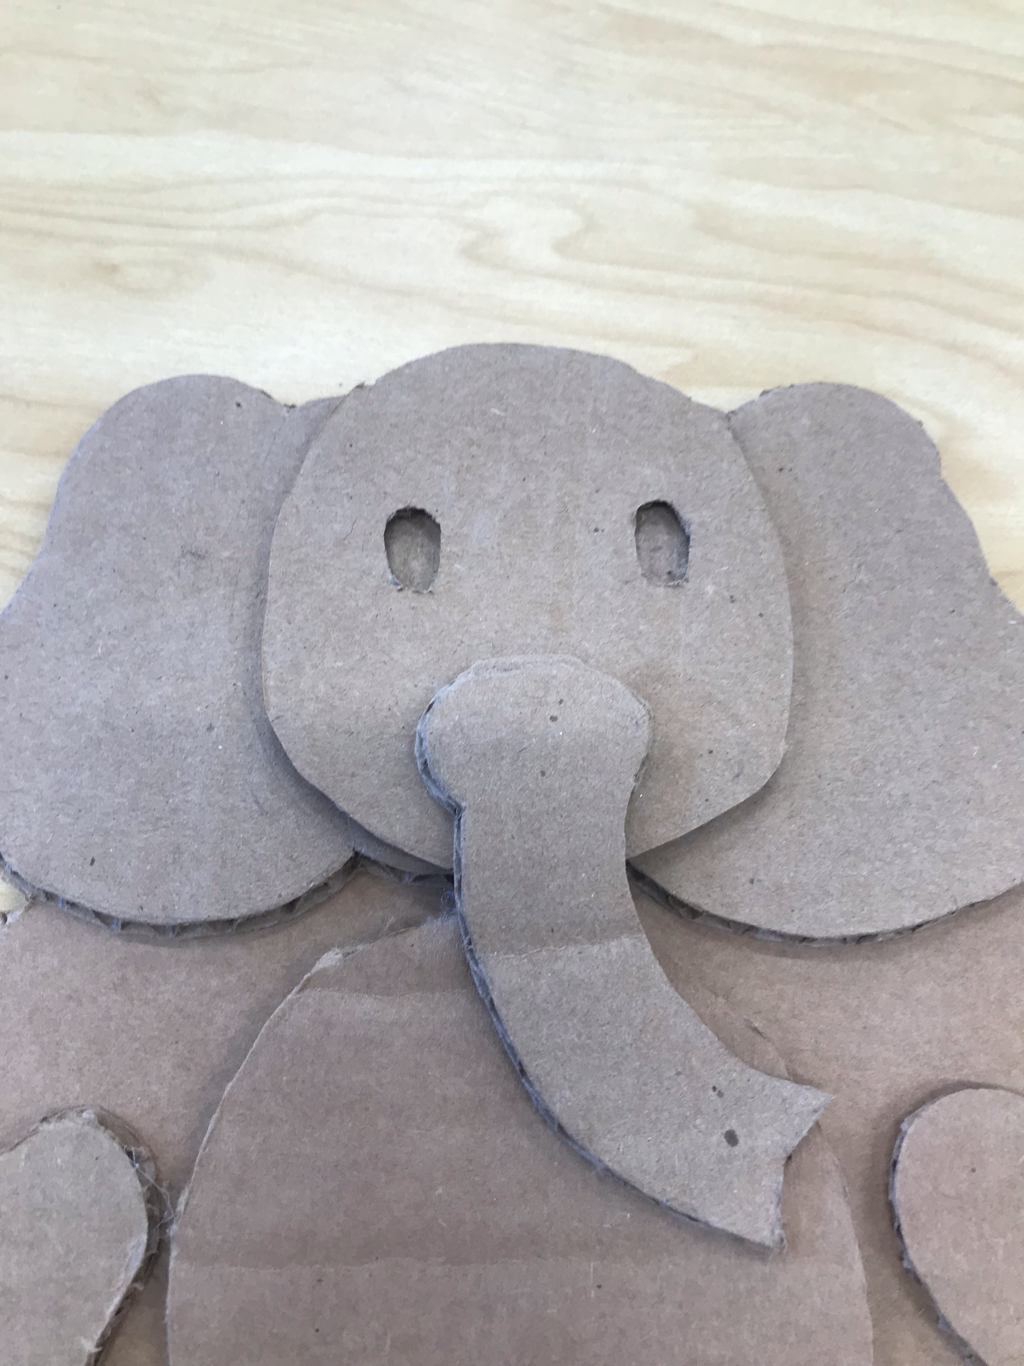 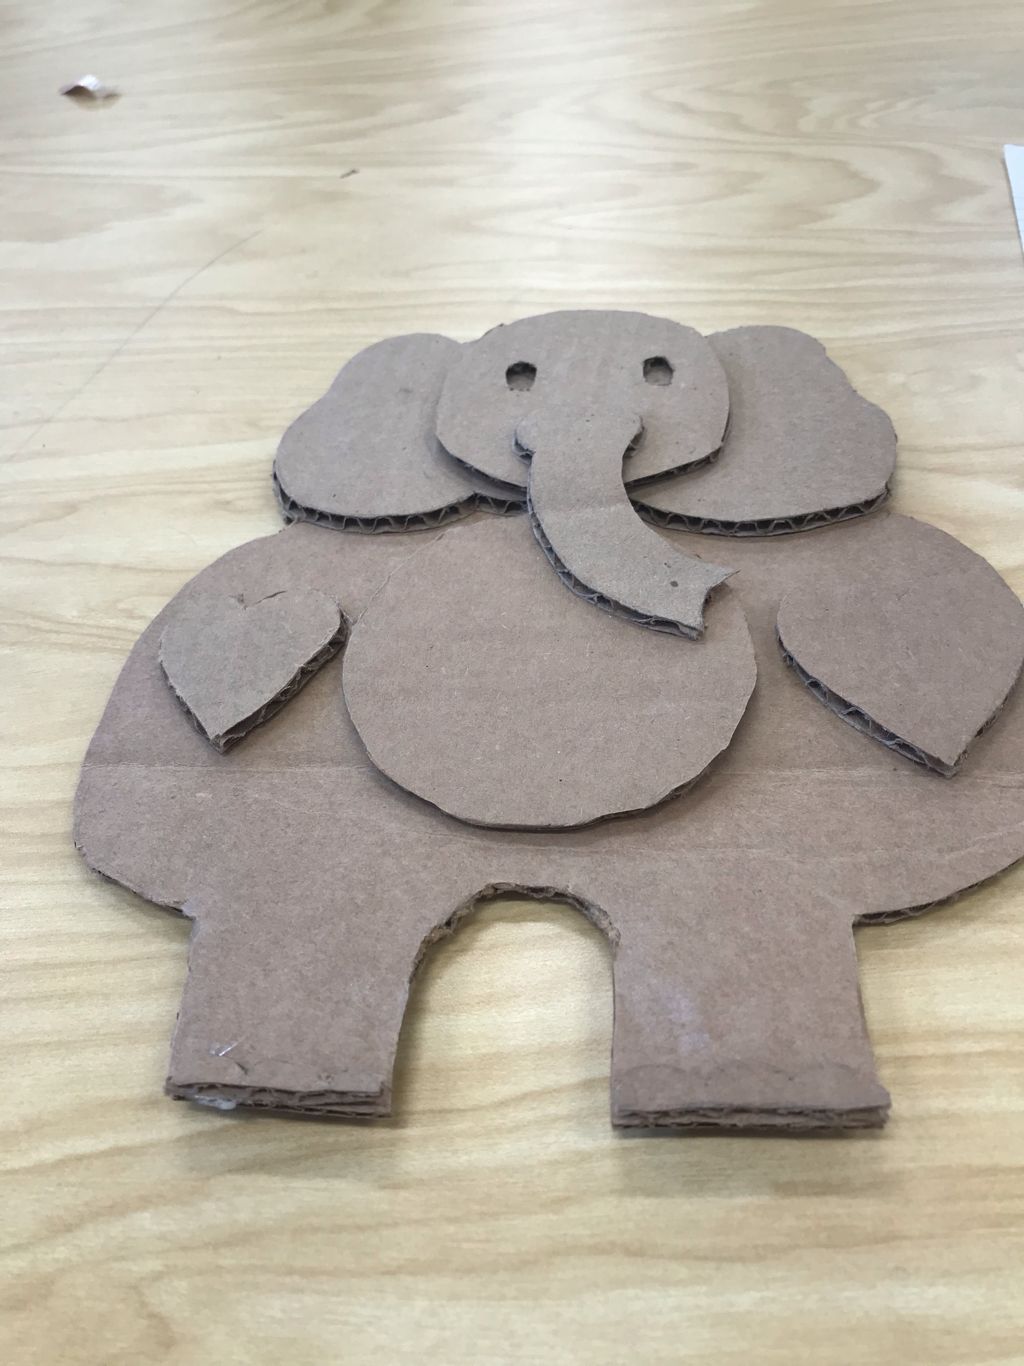 Question #1: I found a few things successful about my piece and think it turned out fairly well. I was really happy with how smooth my lines and cardboard pieces were, which made the piece look like it was put together with ease. I also found the sizing of all pieces successful. I’m very happy with the sizing of all elements of the piece, and I think the size all together makes the piece look “cute”. I think the smooth likes and size work together to make the piece look cute. Question #2: If I were to do this project I would change the amount of detail, and add more relief. I think that the elephant lacked some detail that could of fit really well on the body, like possibly more hearts, adding stars, more facial or trunk detail, and more detail on the toes/ feet. I also would have liked to add more relief into the body so that the elephant could have realistic body lines and just more relief would bring the piece all together. Question #3: Some advice I would give to someone starting this project is to really plan out your piece before you start so that you don’t have to back track a lot while you’re doing the project. I had a big issue with trying to find big relief spots and had to redo the head a few times because I couldn’t figure out how to add relief there. I would just say to make sure you’re planning out your piece and to think details because details can really bring the cardboard pieces together.
|
AuthorWrite something about yourself. No need to be fancy, just an overview. Archives
January 2020
Categories |
 RSS Feed
